Best Image Size for INSTAGRAM in 2019

Instagram is one of the most powerful platforms for sharing images and visual storytelling.
Most Instagram users are using it on their phones, uploading photos they took on their phones - how the app is predominantly designed to work. But many Marketers like you and I, want a bit more control and to be able to work with images from our collections and/or professionally shot images.
Below is a simple outline of what image dimensions and ratios the app accepts and displays.
Higher-resolution images
The best size to upload to Instagram
To get the best upload result, Instagram recommends an image with a width of 1080px with an aspect ratio of 1:1 (square), 1.91:1 (landscape) or 4:5 (portrait).
- Square (1:1) - 1080px wide by 1080px tall
- Landscape (1.91:1) - 1080px wide by 608px tall
- Portrait (4:5) - 1080px wide by 1350px tall
Once in the app, you have the choice to crop or not, as Instagram will now support rectangular images.
On smartphones, the images are displayed at 1080px but on the web app images are still displayed at 640px.
As a rule, we recommend sticking with at least 1080px wide across all devices.
No longer just a little square
From the beginning, Instagram used square images. It’s a distinctive feature compared to other social networks. Now, instead of only cropping your images to a square, this is no longer a requirement and you can upload your whole image - landscape or portrait.

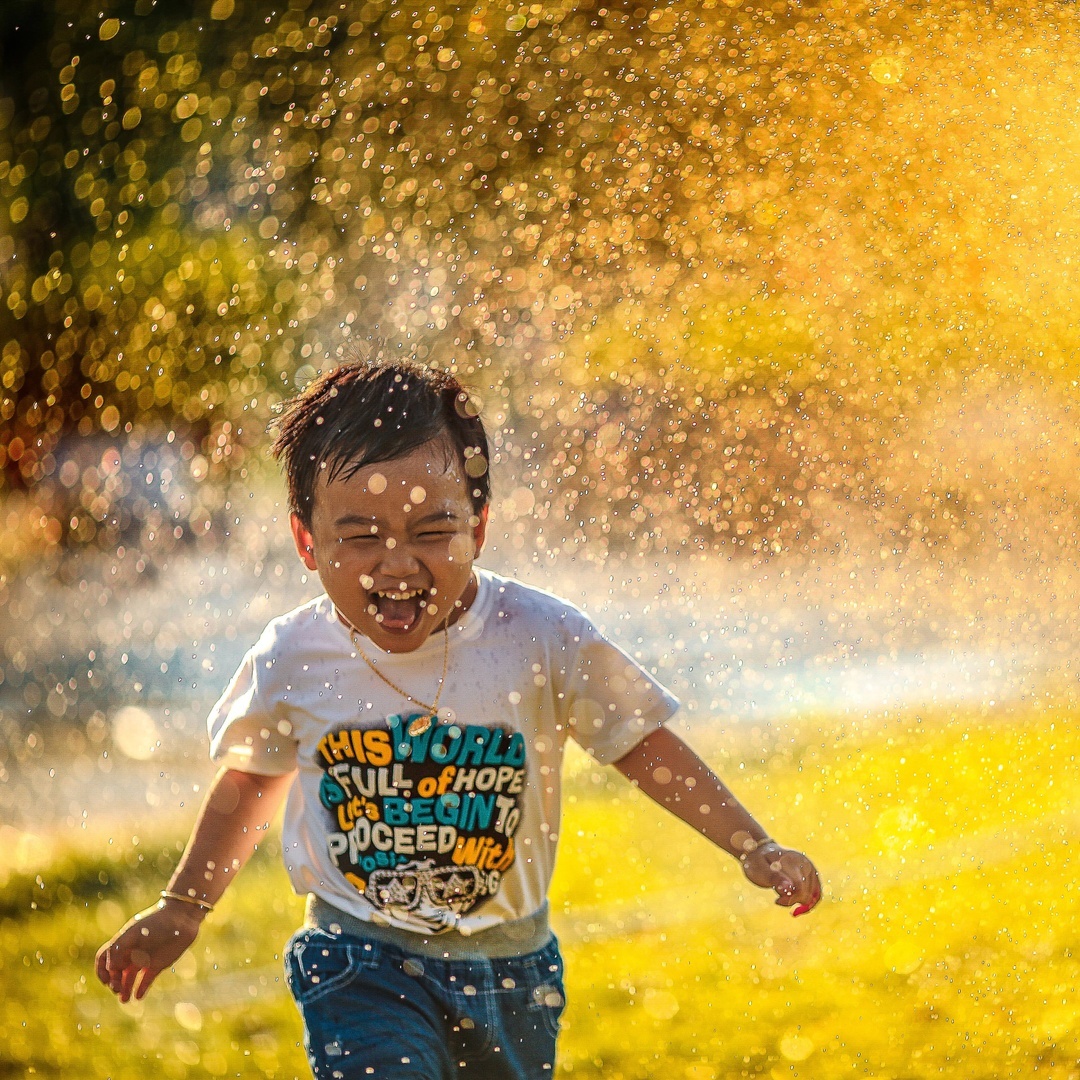
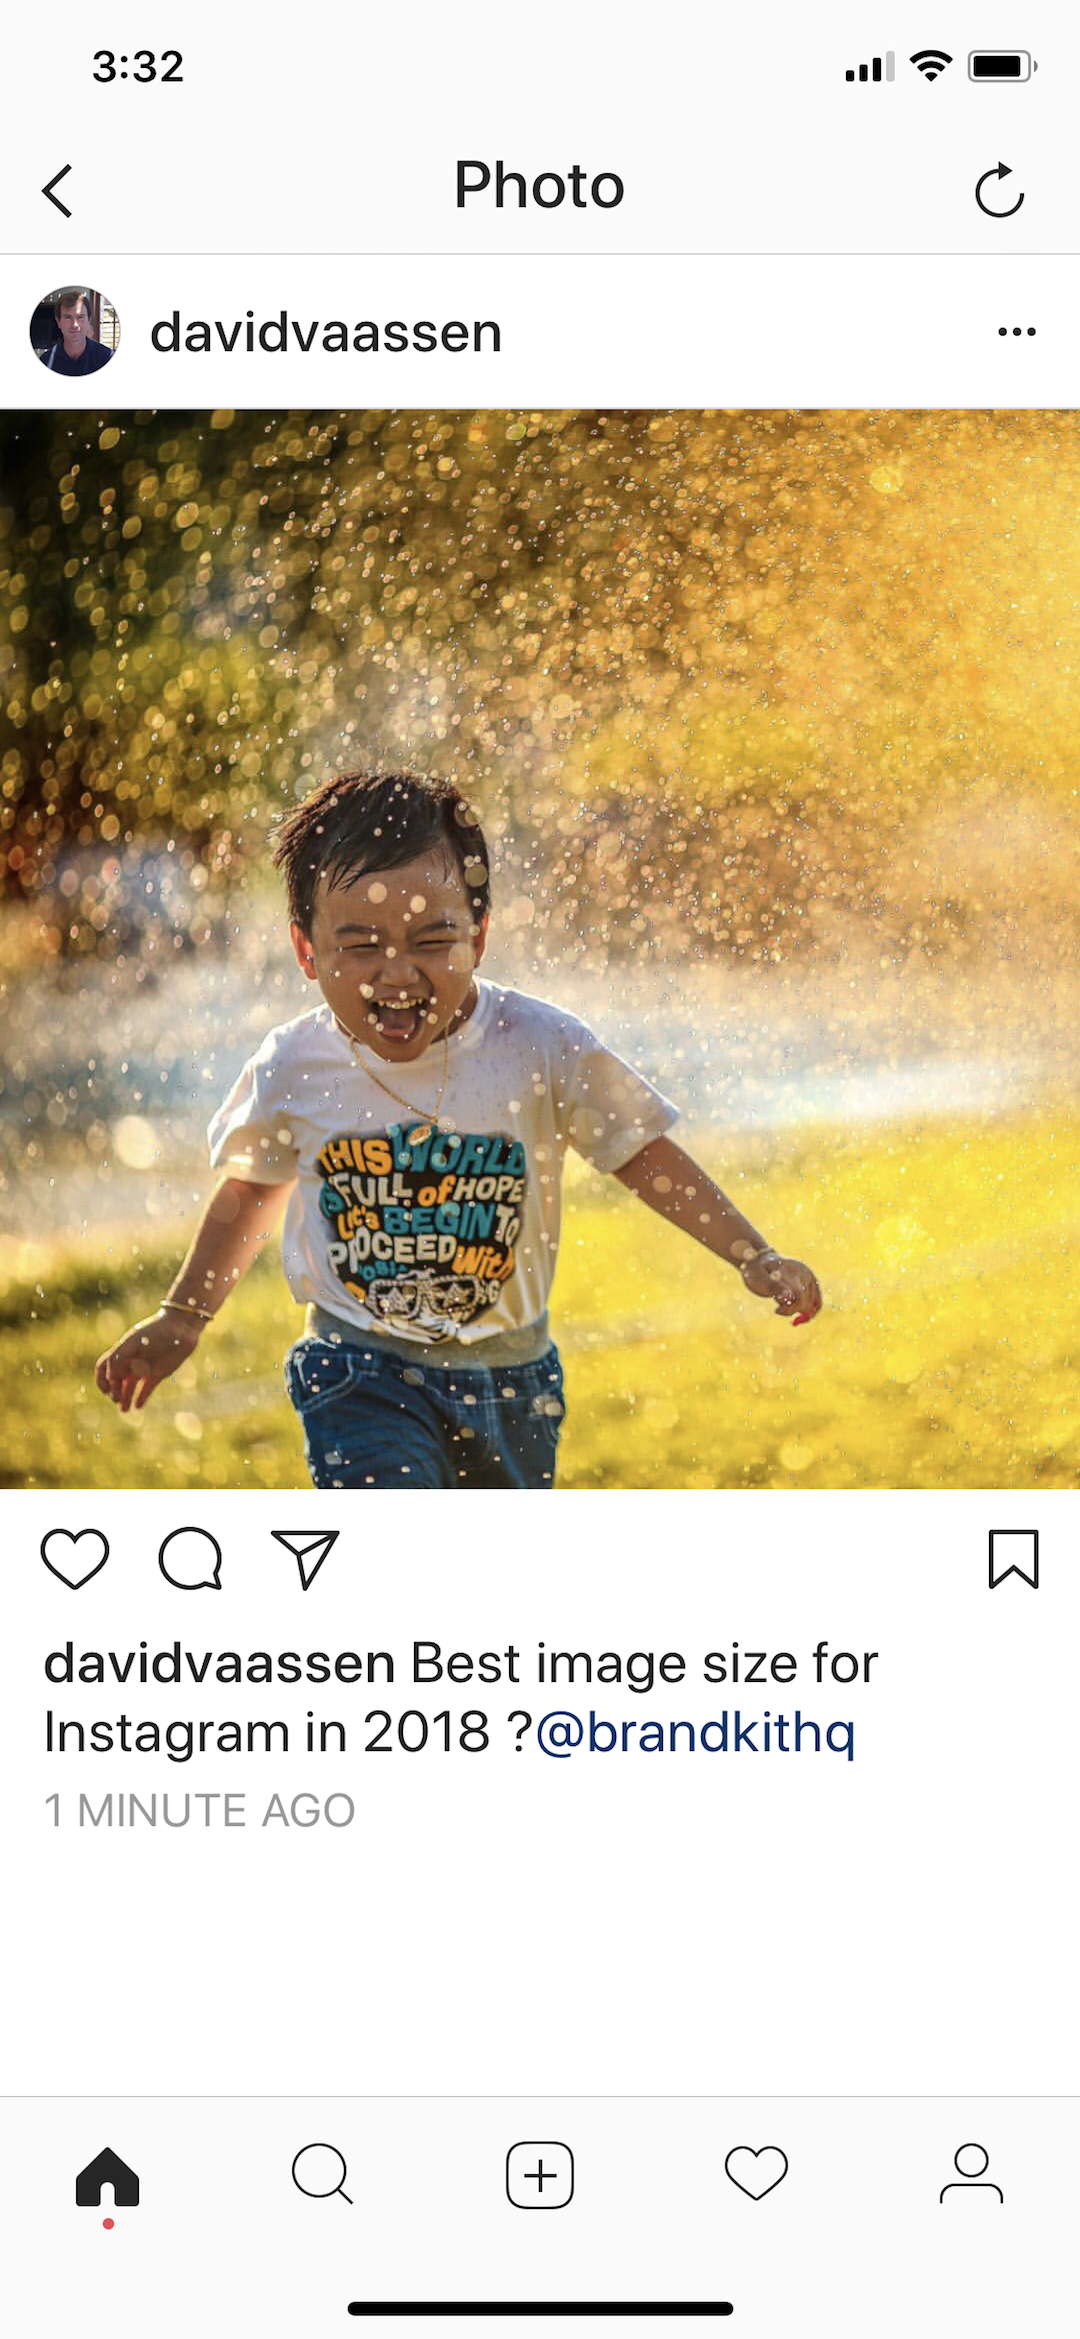
While it's now possible to upload non-square formats, our recommendation is to continue to use a square 1080px by 1080px format, as it's the native format and works best at displaying your copy as well as the image on phone screens. As seen below.

How to create/edit a square image
In Photoshop (or your image editor of choice)
- Open any image that is at least 1080px in it's shortest side.
- Create a fixed size square selection at 1080px by 1080px and position it on the image.
- Crop the image to the selection and save as a jpg.
In Brandkit
- Contact Brandkit to configure an Instagram Download Conversion in your account,
- then once added
- Find any Image Asset and click Download
- Select the Instagram JPG option
- The Image will be downloaded converted the Instagram size (as configured)
In Instagram
- It’s the default so just take a photo with the Instagram app on your phone, or upload from your phone’s image library and Instagram will automatically crop it.
How to get your created/edited Photos into Instagram
If you're creating your image outside the Instagram app
- On your Mac* - Find the edited image file in Finder
- Right click and click Share
- Click Add to Photos
- On your iPhone* - In the Photos app:
- Find the newly added Photo and tap to select.
- Click the Share icon.
- Scroll the list of apps until you see the Instagram icon and tap.
- Write a Caption (don't forget mentions and hashtags)
- Click Share
- Check in the Instagram app and edit as necessary.
* Similar process for Windows and/or Android devices. Swap Apple Photos for Google Photos, Windows Photos, etc, depending on the device.
Best Image Size for INSTAGRAM in 2019
Most users use Instagram on their phones to take AND publish images. But many Marketers like you and me, want a bit more control and to be able to work with images from our collections and/or professionally shot images. So what should you upload? Updated for 2019.


