Q. How to change an Asset's Thumbnail or Proxy?
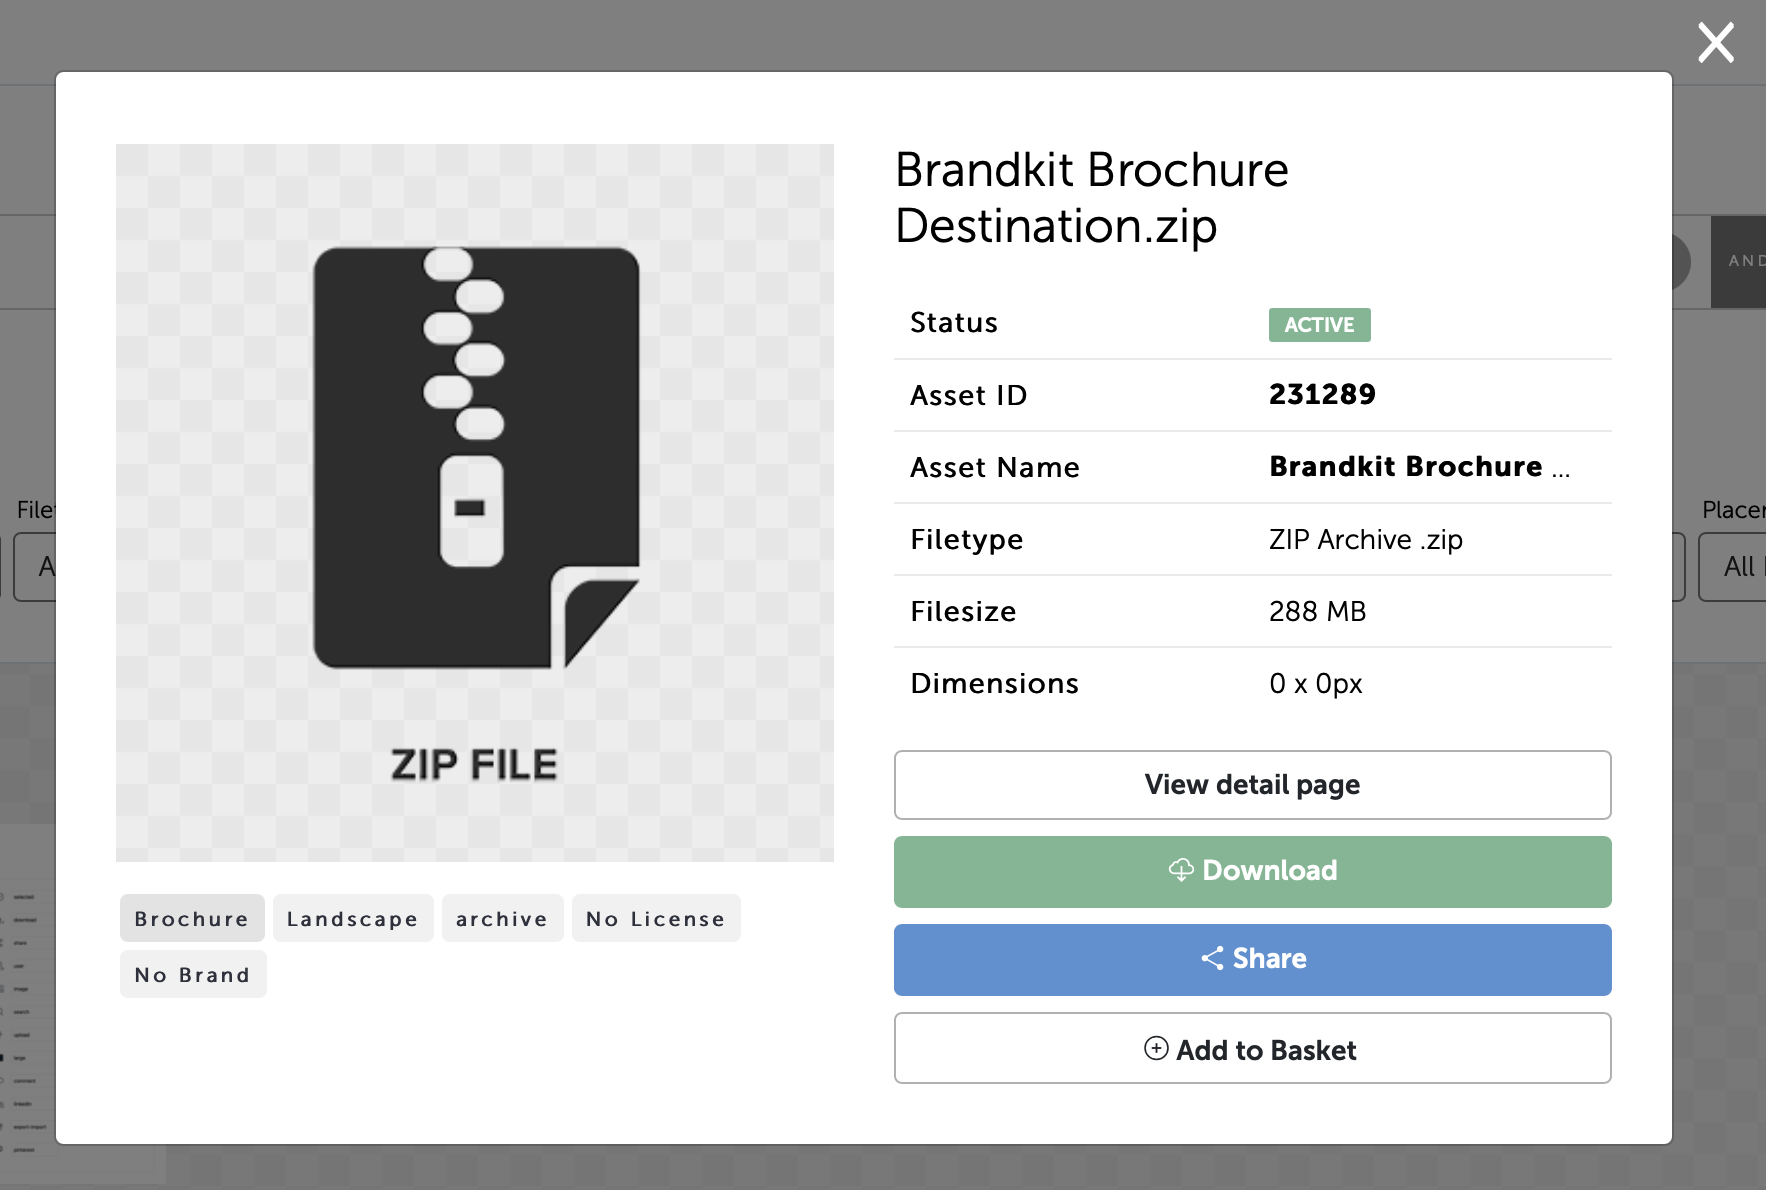
Sometimes when you upload content the thumbnail (or proxy) image that is generated is not to your liking, or in some cases Brandkit is not able to generate a thumbnail from the file (e.g. a Zip file). In these cases (in fact for any asset) you can manually upload a JPG, PNG or GIF as your thumbnail or proxy image. Here's how.
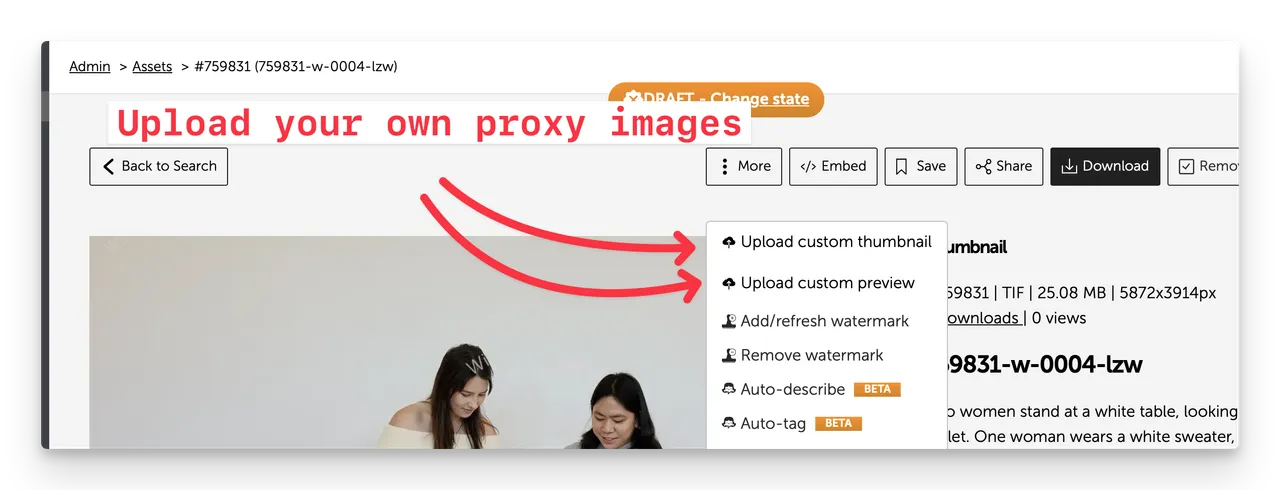
Upload your own proxy images
While Brandkit will not generate proxy images for certain files, you can still add your own proxy images (thumbnail and preview) to represent your file.
You can then upload your own proxy images (thumbnail and preview) directly to the Asset using the Upload custom thumbnail, and Upload custom preview actions under the More... menu in the Asset page of each Asset.
- First create your own proxy image in Photoshop or similar (image should be an RGB JPG, PNG or WebP file at 1280px on it's longest side.
- Navigate to the Asset's Asset page in the Admin interface
- Click the More menu and then from the dropdown upload your thumbnail and preview. You can use the same 1280px proxy image you generated in Photoshop - but you have to upload twice.
You should now see a Preview image and a Thumbnail in the assets grid for this Asset.
Please contact us if you have any questions.
Happy branding :)
Q. How to change an Asset’s Thumbnail or Proxy?
How to update an Asset's displayed thumbnail or proxy image...