How Watermarks work in Brandkit (updated)
Watermarks are optional In Brandkit. Your account may or may not be configured with a Watermark.

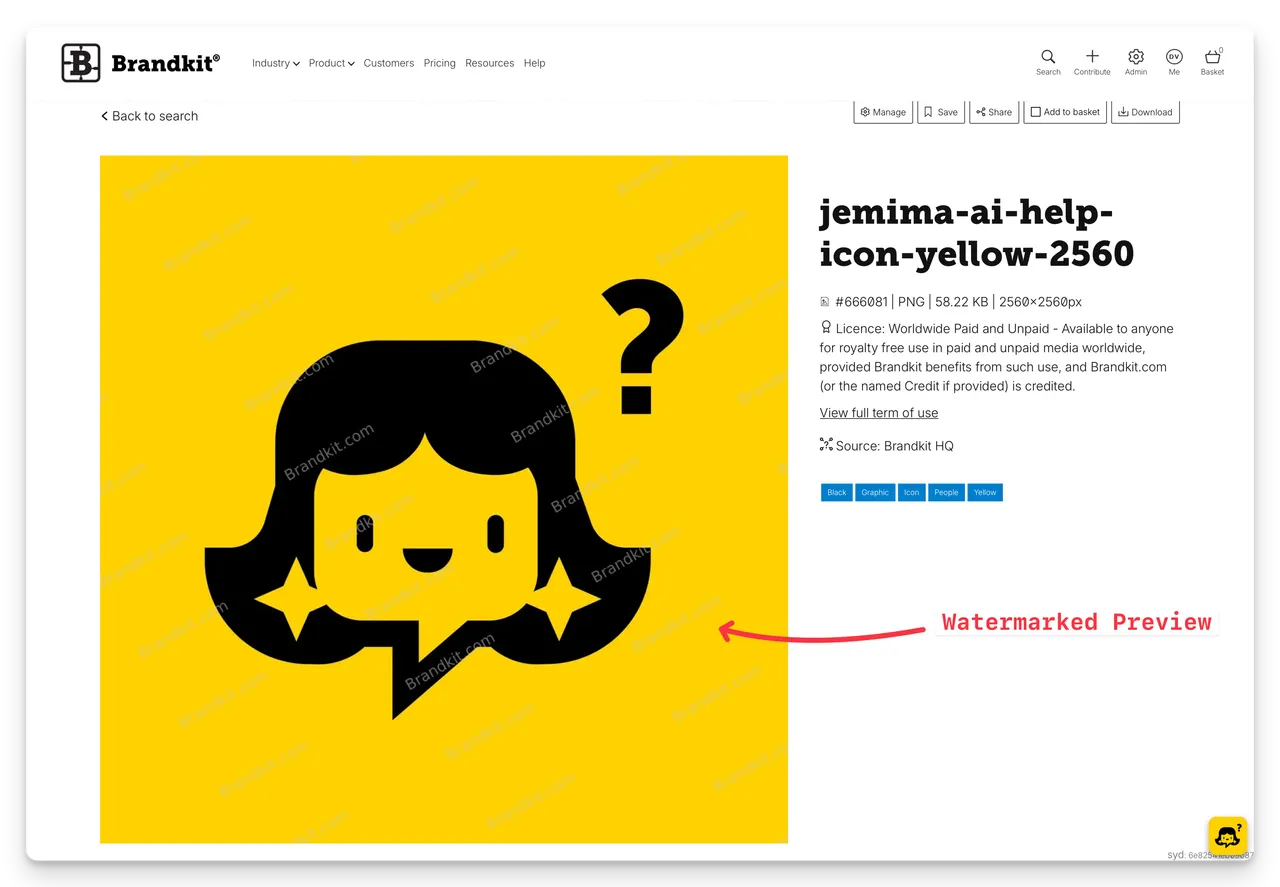
(Screenshot showing a plain text Watermark over an Image Preview in Brandkit)
Watermarks are pre-configured in your account settings using plain text that you have supplied and saved.
- Navigate to Admin > Settings > Watermark
You can configure Watermarks to be added:
- automatically when you upload a new asset, a Preview image will be generated with a text based watermark for any file that generates an image based Preview. PDF’s for example don’t have a Preview image so won’t be Watermarked.
- or manually - where you can elect to explicitly apply to one asset at a time or as a batch process via the Basket.
- If you choose to add a Watermark, your configured Watermark is applied to the Asset Preview only - not the smaller thumbnails seen in Search Results. This Preview is used in the asset detail pages.
- We don’t show the Watermark on the smaller thumbnails seen in the search results as the images are too small to be concerned about screen-shotting a copy and it give a cleaner less cluttered look.
- If you elect to manually apply Watermarks, you can do so using the More. Menu on the Asset Page (and the Edit menu in the Basket), by choosing More > Add/refresh Watermark. You can also remove a Watermark by choosing More > Remove Watermark from the More menu.
Watermarking recommended if you have users with Request rights
If you have any User Roles setup with Request rights (rather than Download rights) we recommend setting up a Watermark and turn on Enable watermark for new assets?
No more image based Watermarks?
We offered image based watermarks in Brandkit 1, but have moved to text based Watermarks in Brandkit 2 because they are easier to setup and perform better.
Happy watermarking :)
How Watermarks work in Brandkit
An explanation of Watermarks and how they are applied to Assets.


