Configuring your Brandkit account for Auth0 integration
How to setup your Brandkit account for integration with Auth0 single sign-on.
In Auth0
Step 1:
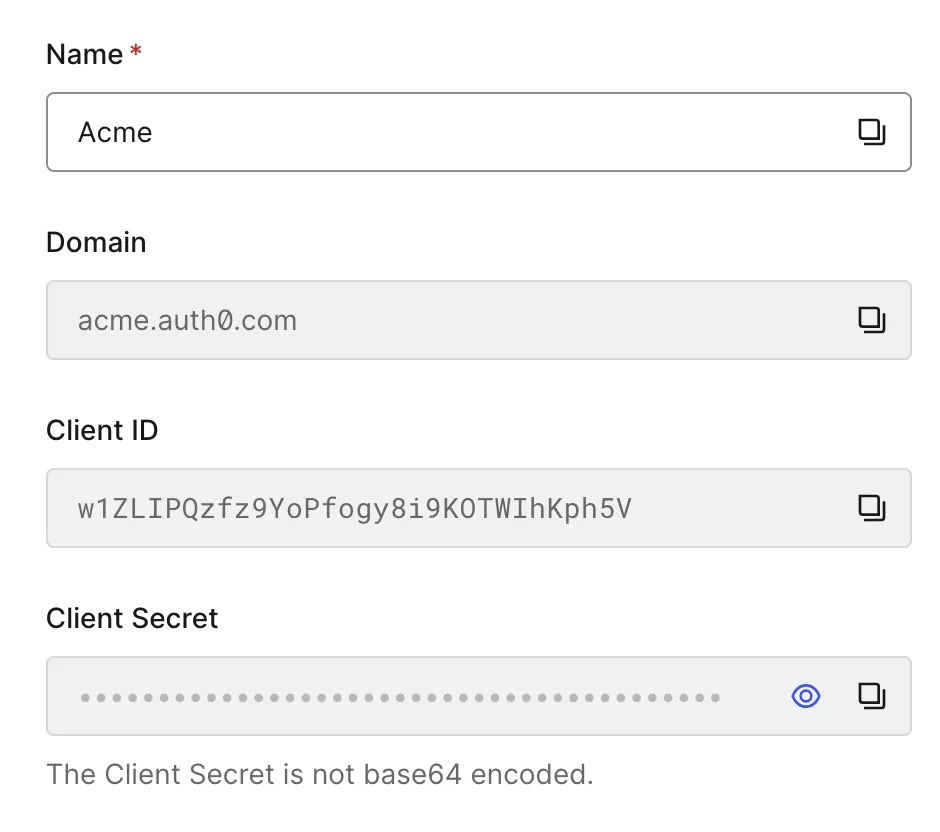
- Create an Application
- Add a name (e.g. Brandkit).
- Add a domain. Use your Brandkit "shortname" plus ".auth0.com as your domain (e.g. acme.auth0.com).
- Client ID and Client Secret will be generated for you.
Contact Brandkit for your account "shortname".
Step 2:
Add the Brandkit Auth0 Callback URL to Allowed Callback URLs.
The correct syntax is the Brandkit account url (includinhg https://) plus "/auth/auth0/callback".
e.g. if the Brandkit account URL is https://acme.brandkitapp.com, the Callback URL will be: https://acme.brandkitapp.com/auth/auth0/callback

Step 3: Send Auth0 details to Brandkit
Only Brandkit System Admins can configure Auth0 for your account so you must send the following items to your Brandkit contact with instructions to setup Auth0 integration for your account:
- Domain (e.g. acme.auth0.com)
- ClientID
- Client Secret
In Brandkit (For Brandkit System Admins only)
Once recieved from the customer, a Brandkit System Admin will add the ClientID, ClientSecret and Domain to the Authentication settings of your account and then Enable Auth0 login.
Once added Auth0 login should start working as expected.
Please Note: Only Brandkit System Admins (Brandkit Staff) can add this data and configure Auth0 for an account.

Note: There may be some propagation time (a few minutes) after saving configuration and enabling Auth0.
Configuring your Brandkit account for Auth0 integration
How to setup your Brandkit account for integration with Auth0 single sign-on.